Table of Contents
- Introduction
- Materials Needed
- Step-by-Step Instructions
- Designing the Metal Plate
- Crafting the Headband Fabric
- Assembling the Headband
- Customization Ideas
- Conclusion
- FAQs
Introduction
Naruto headbands are iconic symbols from the beloved anime series, representing ninja villages and personal strength. Making your own Naruto headband is a fun and creative project, perfect for cosplay, conventions, or fan collections. This step-by-step guide will walk you through crafting a high-quality headband with ease.
Materials Needed
Before starting, gather these supplies:
- Aluminum sheet or pre-cut metal plate
- Black fabric (cotton or polyester)
- Acrylic paint (silver, black, or colored for customization)
- Paintbrush & fine-tip marker
- Scissors & ruler
- Sandpaper (medium grit)
- Strong adhesive (E6000 or super glue)
- Hole punch & rivets (optional for durability)
Step-by-Step Instructions
1. Designing the Metal Plate
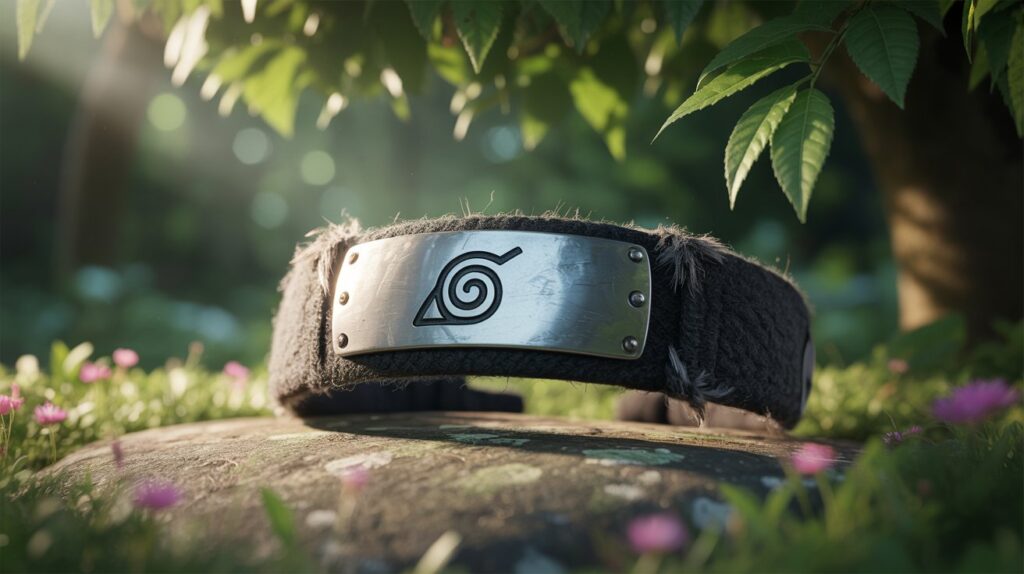
- Trace the Shape: Use a stencil or freehand draw the village symbol (e.g., Konoha’s leaf) onto the aluminum sheet.
- Cut & Smooth: Carefully cut out the design with scissors or a craft knife. Sand the edges to avoid sharpness.
- Paint the Symbol: Apply acrylic paint, starting with a base coat. Use a fine brush for detailing. Let it dry completely.
2. Crafting the Headband Fabric
- Measure & Cut: The standard headband length is about 3-4 feet (adjust based on head size). Cut the fabric into a long strip (2-3 inches wide).
- Fold & Secure: Fold the edges inward and iron for a clean finish. Sew or glue the edges to prevent fraying.
3. Assembling the Headband
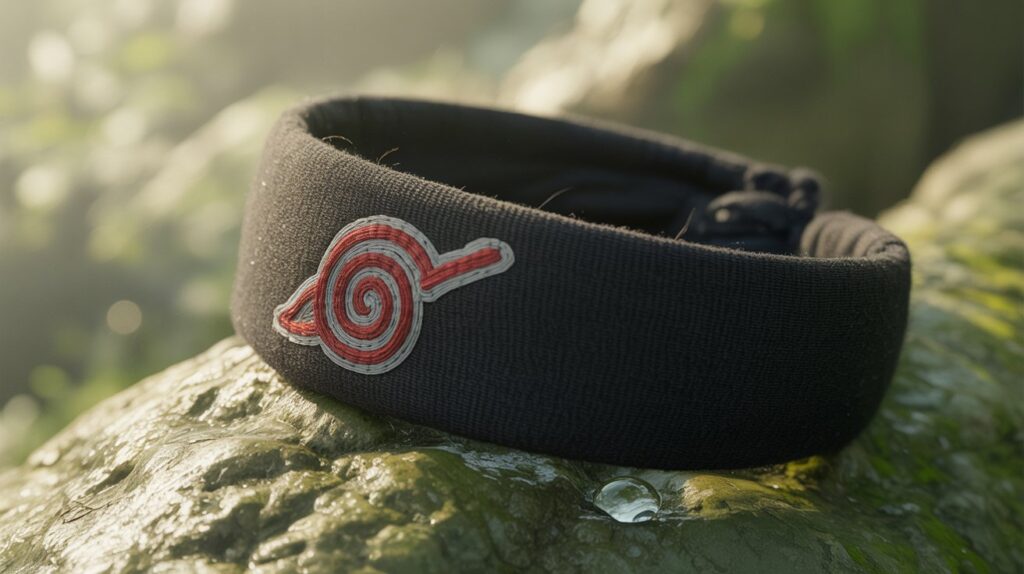
- Attach the Metal Plate: Place the painted plate in the center of the fabric strip. Use strong adhesive to secure it firmly.
- Reinforce (Optional): For extra durability, punch small holes in the plate and fabric, then fasten with rivets.
Customization Ideas
- Different Villages: Paint symbols from Hidden Sand, Mist, or Stone villages.
- Weathered Look: Use sandpaper to scratch the metal for a battle-worn effect.
- Glow-in-the-Dark Paint: Add a unique touch for nighttime cosplay.
Conclusion
Creating your own Naruto headband is a rewarding DIY project that brings anime authenticity to your cosplay. With simple materials and creativity, you can craft a personalized headband that showcases your favorite ninja village.
FAQs
Q: Can I use cardboard instead of metal for the plate?
A: Yes, but aluminum or tin offers better durability and a metallic finish.
Q: How do I make the headband adjustable?
A: Add Velcro strips or elastic bands to the ends for a snug fit.
Q: What’s the best paint for long-lasting results?
A: Acrylic or enamel paint works best, sealed with a clear varnish.
Q: Where can I find Naruto symbol templates?
A: Search online for printable stencils or trace from official images.